GlucoMen areo 2K

FORMATIONS ET GUIDES

TUTORIELS

EFFECTUER DES TESTS DE GLYCÉMIE ET DE CÉTONÉMIE

1.
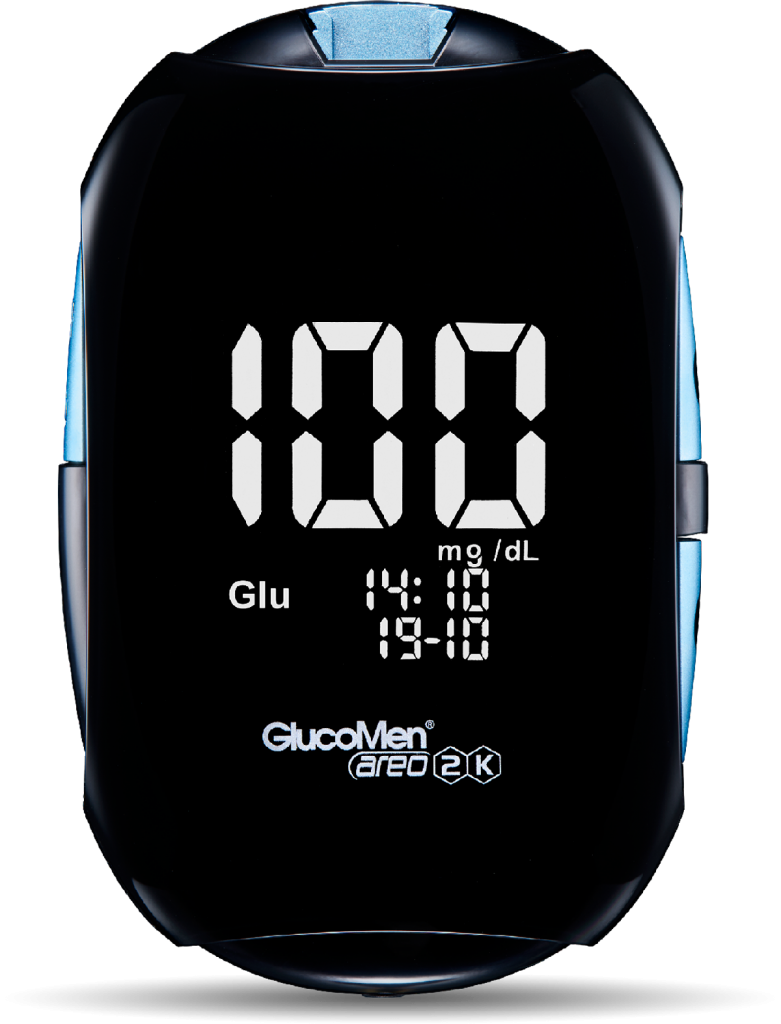
Avec des mains propres et sèches, insérez la bandelette dans le lecteur aussi loin que possible. Une fois bien insérée, vous entendrez un signal sonore et l’écran affichera « Glu » (glucose) ou « Ket » (cétones). GlucoMen Areo 2K détecte automatiquement le type de bandelette insérée.
2.
Piquez votre doigt et mettez en contact le haut de la bandelette et la goutte de sang jusqu’à ce que vous entendiez un signal sonore.
3.
Le résultat apparaîtra sur l’écran en seulement cinq secondes pour la glycémie et huit secondes pour la cétonémie. Éliminez la bandelette en toute sécurité grâce au bouton d’éjection intégré qui est situé à l’arrière de l’instrument.
Previous slide
Next slide

TÉLÉCHARGEMENT DES DONNÉES VIA NFC

1.
Activez la fonction NFC de votre appareil mobile et installez l’application GlucoLog Lite (disponible gratuitement sur Google Play et App Store).
2.
Activez la fonction NFC de votre GlucoMen Areo 2K. Appuyez simultanément sur les boutons marche/arrêt/confirmation et ▲ pendant deux secondes pour accéder au menu paramètres ("SET"). Appuyez sur ▲ / ▼ pour faire défiler les paramètres. Lorsque le paramètre clignote, confirmez en appuyant sur la bouton marche/arrêt/confirmation. Appuyez sur ▲ / ▼ pour sélectionner "ON" (activé), puis confirmez et quittez en appuyant sur le bouton marche/arrêt/confirmation.
3.
Ouvrez la page de réception de GlucoLog Lite et tenez l’instrument près du récepteur NFC de votre smartphone pendant quelques secondes. La transmission des données se fera automatiquement. Une fois la transmission terminée, l’écran de l’instrument affichera « End » (fin).
Previous slide
Next slide

ACCÉDER AUX DONNÉES ENREGISTRÉES

1.
Appuyez longuement sur le bouton marche/arrêt/confirmation du lecteur éteint pendant deux secondes.
2.
Lorsque "mem" apparaît en haut à gauche de l’écran, utilisez les boutons ▲ / ▼ pour accéder à la mémoire que vous souhaitez consulter : "Glu" pour le glucose et "Ket" pour les corps cétoniques. Appuyez sur le bouton marche/arrêt/confirmation pour confirmer.
3.
Pour afficher les résultats précédents à l’écran, utilisez les boutons ▲ / ▼.
4.
Pour modifier la sélection, appuyez longuement sur le bouton marche/arrêt/confirmation pendant deux secondes, puis sélectionnez "Glu" ou "Ket" avec les boutons▲ / ▼. Appuyez sur le bouton marche/arrêt/confirmation pour confirmer. À la fin de la consultation, éteignez l’instrument en appuyant longuement sur le bouton marche/arrêt/confirmation pendant cinq secondes.
Previous slide
Next slide

VISUALISER LES MOYENNES DES GLYCÉMIES MESURÉES

1.
Appuyez longuement sur le bouton marche/arrêt/confirmation du lecteur éteint pendant deux secondes.
2.
Lorsque « mem » et « Glu » apparaissent sur l’écran, appuyez sur le bouton marche/arrêt/confirmation pour accéder aux résultats de glycémie mémorisés.
3.
Dans la section mémoire, appuyez à nouveau sur le bouton marche/arrêt/confirmation pour consulter les moyennes.
4.
Affichez les moyennes pour 1, 7, 14, 30, 60 ou 90 jours en appuyant sur le bouton marche/arrêt/confirmation. À la fin de la consultation, éteignez l’instrument en appuyant longuement sur le bouton marche/arrêt/confirmation pendant cinq secondes.
Previous slide
Next slide

FAQ

Questions les plus fréquemment posées sur le système GlucoMen Areo 2K et leur réponses

Yes, the meter turns off automatically after two minutes of nonuse. To turn off the instrument manually, press the shutdown key for about three seconds until the display is completely off, then release the key.

No, it is not possible to delete results saved on the GlucoMen areo 2k.

Always store the strips in environments where the temperature and humidity corresponds to what is indicated on the package and in the product instruction booklet. Do not leave the bottle in places where there is a risk of excessive heat, cold or humidity (for example in the kitchen, bathroom, under a window exposed to direct sunlight or in the glove box f a car).
Do not leave the bottle open, but be sure to close it properly immediately after removing the strip required for the test. Always keep the strips in their original bottle. Do not store the strips inside other unsuitable containers (bags, sacks, suitcases, etc.) and do not pour them into other bottles, even if they are made of strips of the same brand and type.

The serial number (SN) is located on the back of the GlucoMen areo 2k glucose meter and on the product packaging label.

The lot number (LOT) can be found on the bottle and on the label of the test strip packaging (both for blood glucose and ketonemia).

If you have encountered a problem while using the GlucoMen areo 2k, consult the “Views, meanings, actions to be taken” section of the user manual.

If the problem persists, contact our Customer Service team.

Ouvrez le couvercle du compartiment à piles à l’arrière de l’instrument. Retirez les piles usées et remplacez-les par des piles neuves (de type CR2032), en plaçant le côté + vers l’extérieur. Replacez le couvercle. Après avoir remplacé les piles, l’heure, la date, le signal sonore et les marqueurs doivent être réinitialisés.

No, when you change the batteries , the device will retain the test result data. However, you will need to reset the time, date, beep and marking symbols.

The control solutions for the GlucoMen areo 2k system are distributed separately. To check the availability of control solutions, contact your pharmacist or doctor, or ask to our Customer Service team.
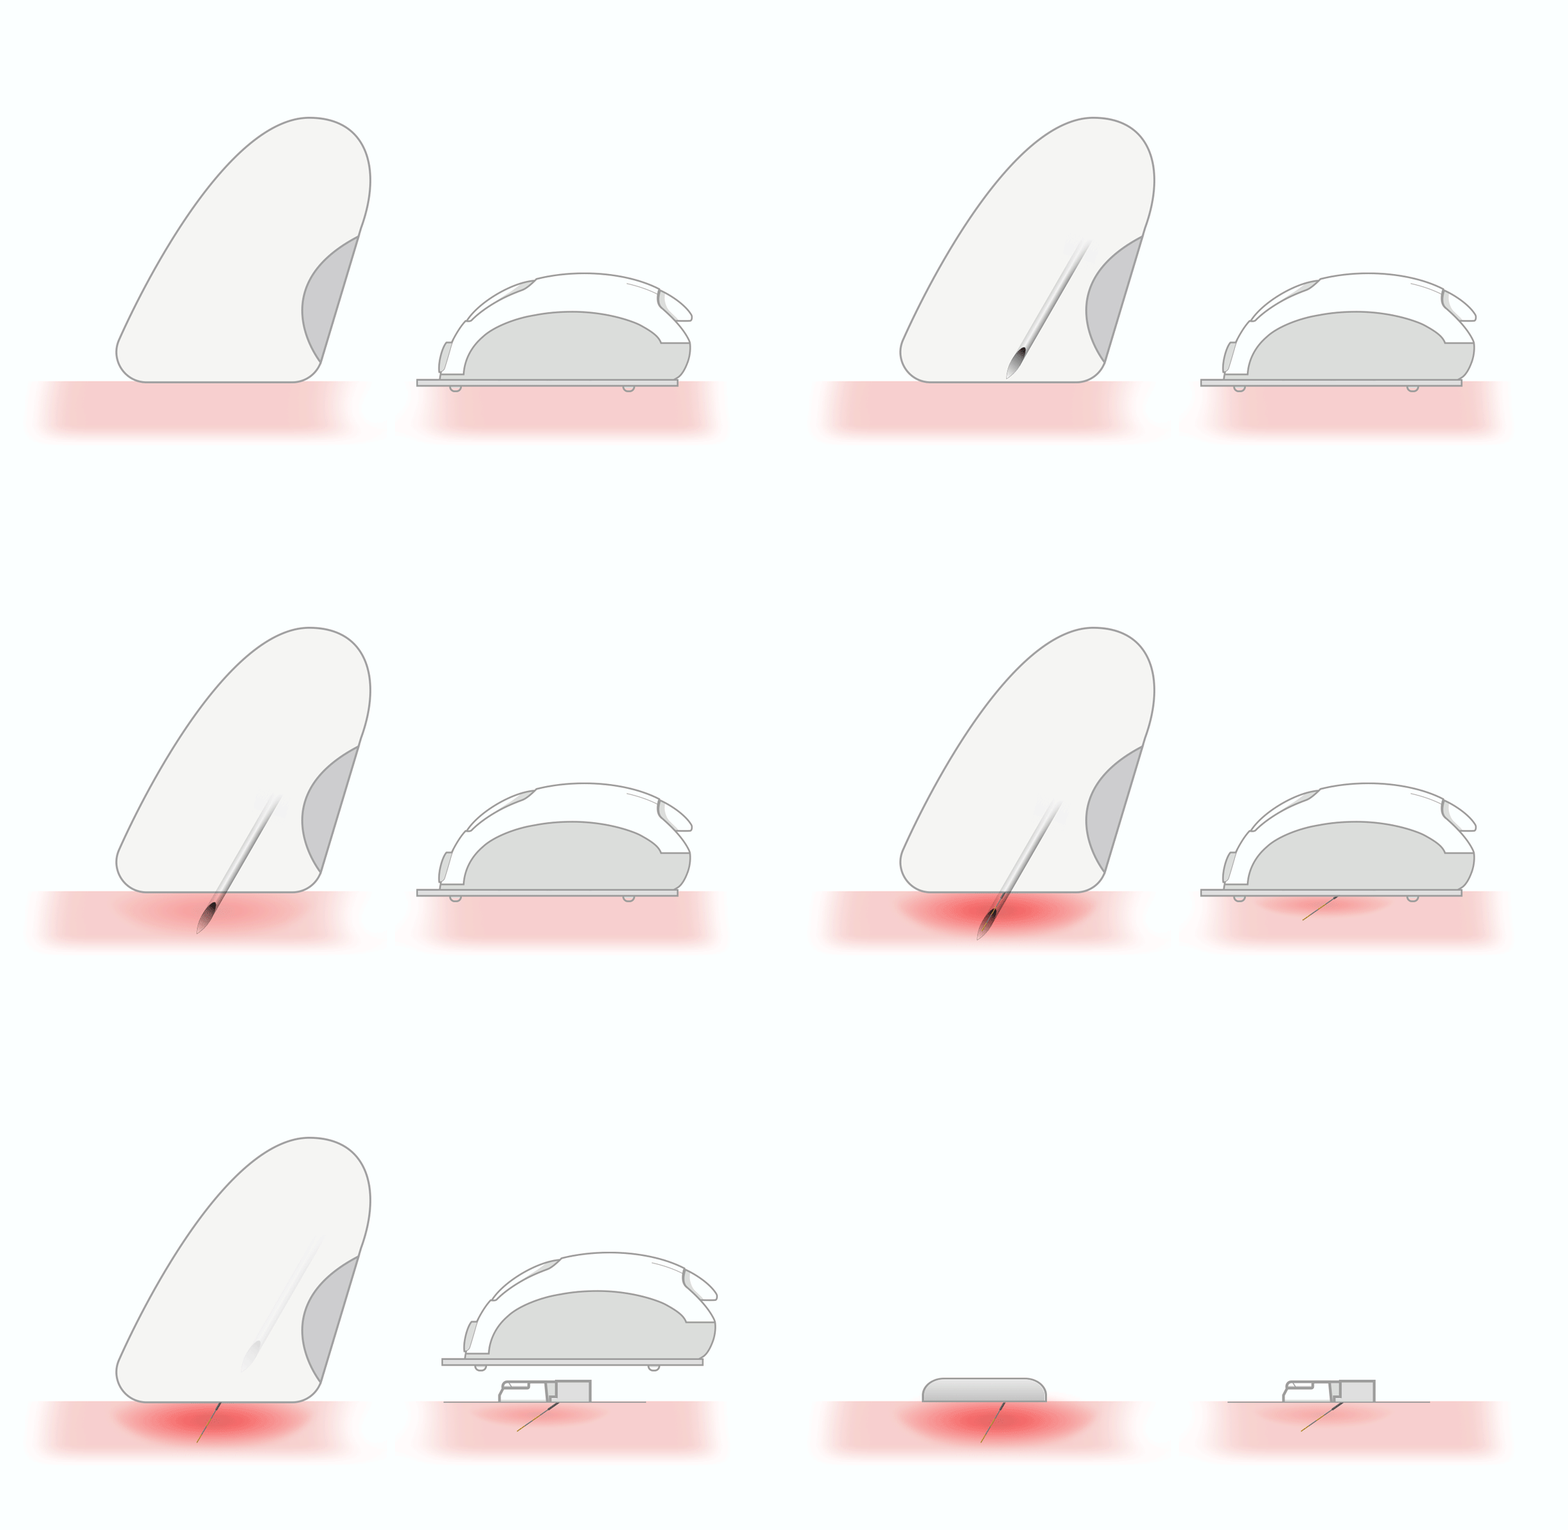
Inserteur sans aiguille

L’inserteur automatique permet une insertion rapide et indolore du capteur par rapport à l’insertion d’aiguille-canule traditionnelle.
Insertion de l’aiguille-canule
Application sans aiguille